

Coinbase is where a lot of Americans bought their first coin, and it is where most of them still keep it, because nothing along the way ever forced a decision. The number on your screen is an entry in Coinbase's ledger with your name attached to it, and the keys that control those coins sit with the company. Learning how to move crypto from Coinbase to a cold wallet is the step that turns that entry into something you hold yourself, and the whole exercise takes about fifteen minutes once you know where the expensive mistakes hide.
If you're still deciding whether to move at all, we've written about what Coinbase Wallet does and doesn't give you. This piece is the mechanics.
Three checks before you touch Send
Start with the asset. Coinbase lets you buy plenty of things it will also let you send on-chain, though the two lists aren't identical, so open the send screen for your specific coin and confirm the option is there before you plan around it. Withdrawals also sit behind identity verification, two-factor authentication, and a holding period on recently added payment methods, which catches people who fund an account on Monday and expect to move coins on Tuesday.
Next, check that the wallet you're moving to supports what you're sending. A cold wallet that can't hold your asset is a problem you want to discover now rather than halfway through a transfer. The Ryder One covers Bitcoin, Ethereum, Solana, and a growing list of top ERC-20 and SPL tokens, so a position in something further down the market cap list needs a different destination.
The third check is the network, and it's the one that empties accounts. USDC exists on Ethereum, Solana, Base, Polygon and more besides, and your coins only arrive if the network you pick inside Coinbase matches the network your receiving address was generated on. Coinbase states the consequence plainly: on-chain sends are irreversible, and the company can't retrieve funds sent to the wrong address or over the wrong network.
The steps
- Set the hardware wallet up first, completely. Unbox it, run the setup, and finish the recovery process while no money is moving. Rushing the backup because a transfer is pending is how people end up with coins they can't restore.
- Pull the receive address from the wallet and verify it on the device screen. Copy it into Coinbase, then compare the opening and closing characters against what the wallet itself displays. Clipboard-hijacking malware substitutes addresses at precisely this moment, and the device screen is the only copy an infected computer can't edit.
- In Coinbase, open the asset and choose Send. Paste the address, pick the matching network, and enter an amount.
- Send a test transaction first. Ten dollars is plenty. Let it confirm and appear as a balance in your wallet before you commit the rest, because a test that lands proves the address, the network, and your reading of the send screen all at once.
- Check the fee, then send the balance. The network fee goes to miners or validators rather than to Coinbase, and a "send max" option usually subtracts it from the amount instead of adding it on top.
Most sends confirm within minutes. Bitcoin during a congested stretch can take longer, and the transaction ID Coinbase hands you can be dropped into a block explorer if you'd rather watch it than refresh the app.
The mistakes that cost people money
Some assets need a memo or destination tag alongside the address. Leave that field blank when your destination asks for one and the coins can land somewhere that has no record of whose they are. Read the send screen rather than skimming past it.
Then there's the withdrawal scam that has been running against Coinbase customers for years, where a text or call claiming to be support walks you through "securing" your account and the security step is a transfer to the attacker. Coinbase will never phone you and ask you to move funds. Neither will we, and no legitimate company will ever need the words from your recovery sheet.
One more piece of sequencing: do this in a single sitting, on a computer or phone you control, rather than spreading it across a work laptop and a borrowed tablet. Every extra device is another place an address can be swapped.
What changes about your risk, and what the backup problem becomes
Something worth sitting with before you finish. Leaving coins on an exchange means accepting a risk you didn't pick: a company that can freeze accounts, suffer a breach, get a court order, or in the worst cases fail outright, as FTX did with eight billion dollars of customer money in 2022. Moving to cold storage trades that for a risk that's entirely yours, which is better in almost every way and also more demanding, because now a set of words has to survive fires, floods, moves, and decades of your own filing habits.
Plenty of people finish the transfer, feel the relief, and leave the only copy of their recovery in a desk drawer. Paper degrades and burns. A stamped steel plate answers durability well and is the sensible upgrade from paper, though it still funnels everything into one object that has to stay intact, stay unread by houseguests, and stay findable by you a decade from now. TapSafe Recovery takes the single point of failure out rather than reinforcing it. Half of what's needed lives on a Recovery Tag, the other half on your paired phone, encrypted into your own iCloud or Google Drive rather than sitting on the handset itself, so no one item is worth stealing and losing any single piece leaves you recoverable. Recovery Contacts are optional, hold a quarter each, never see anything about your holdings, and get added in person with a tap. Under it runs a custom implementation of Shamir's Secret Sharing, and your seed phrase stays available on the device as a last resort under the BIP-39 standard, so you're never tied to our hardware.
What the setup looks like a month later
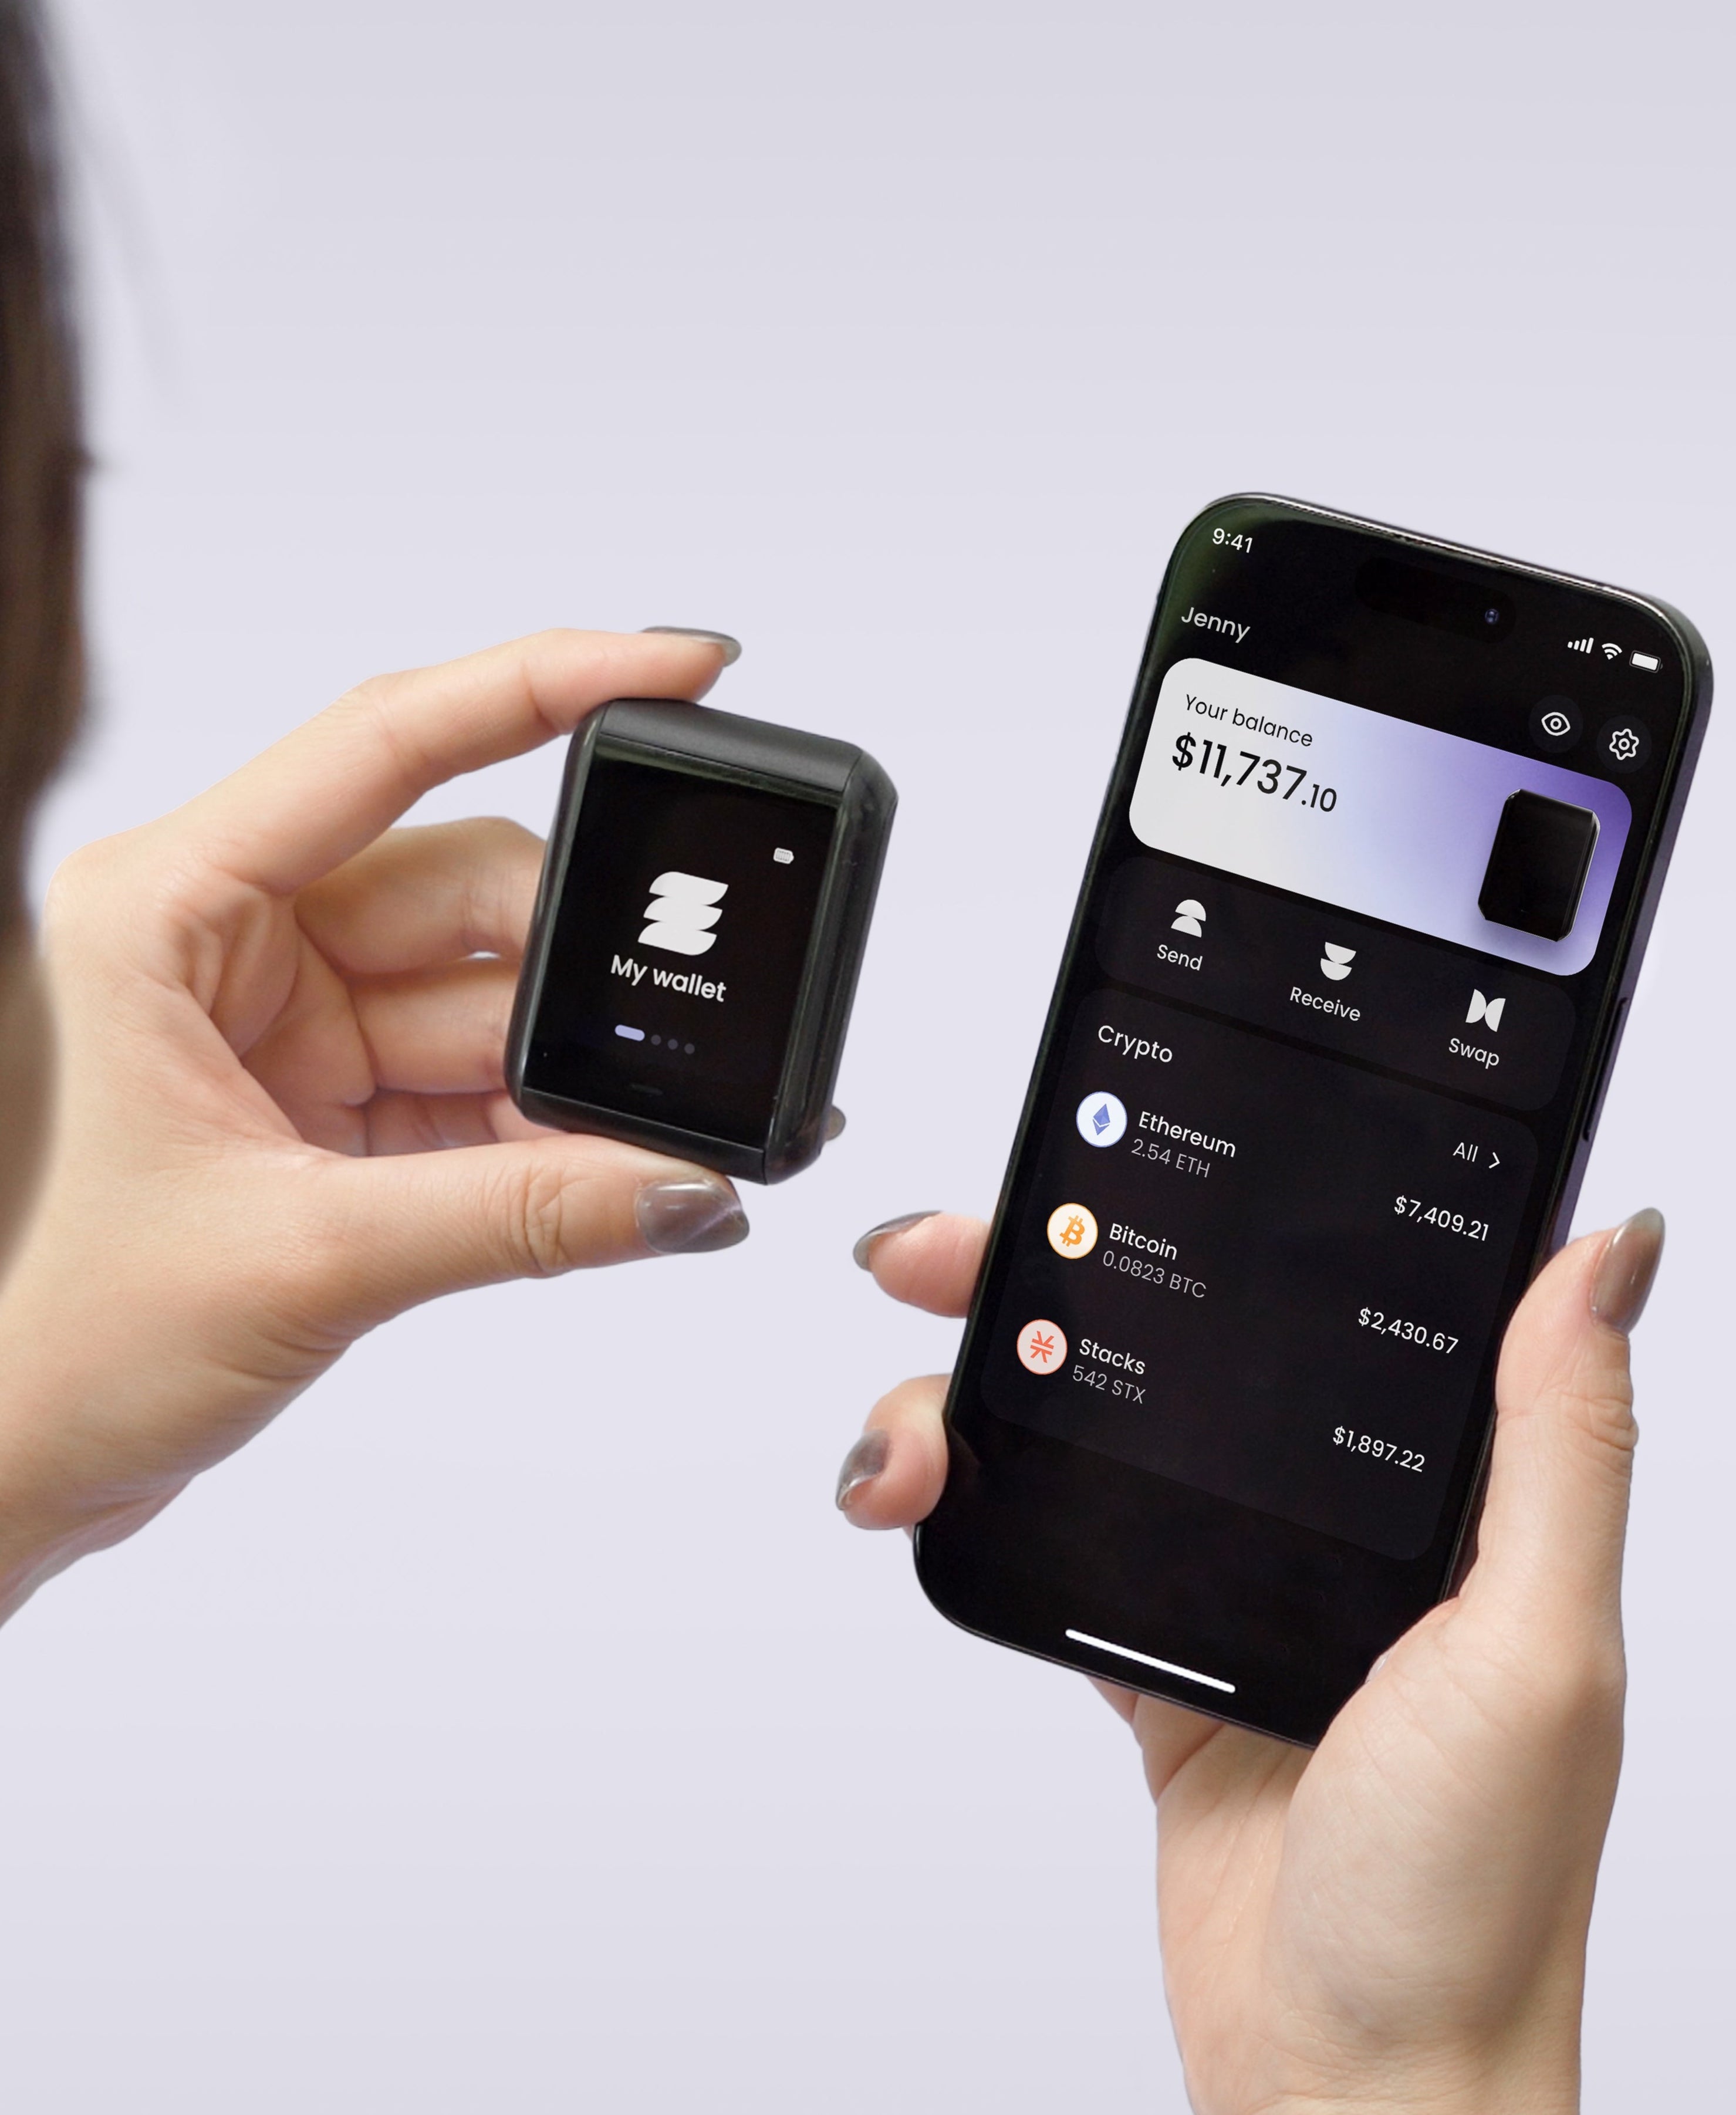
The version of this that holds up is unexciting. Your coins sit on a device with no USB port, no Bluetooth, and no Wi-Fi, which wakes up when you tap it against your phone and stays dark otherwise. Every outgoing transaction gets drawn in full on the 1.6-inch AMOLED screen and confirmed with a button wired directly to the secure element, so what you read is what gets signed. Your recovery isn't sitting in one drawer waiting on your memory.
Setup on the Ryder One runs three taps and finishes in under a minute, and if you already hold a 12 or 24-word phrase from another wallet you can import it and layer TapSafe on top instead of starting over. The Starter Combo is 149 USD with the Recovery Tag, wireless charger, and pouch in the box. Get your Ryder One.
Meta description: How to move crypto from Coinbase to a cold wallet in about fifteen minutes: the network check that loses coins, the test send, and what happens to your backup after.



Share: